Gel nails offer a durable, high-gloss finish that lasts longer than traditional polish. With proper preparation and technique, you can achieve salon-quality results at home. This guide will walk you through every step, from preparation to finishing touches, ensuring a flawless gel manicure.
Understanding the Basics of Gel Nail Application
Gel nail application involves layering base coat, color, and top coat, curing each under UV/LED light. Thin coats ensure durability and a smooth finish, essential for long-lasting results.
Essential Supplies Needed for Gel Nails
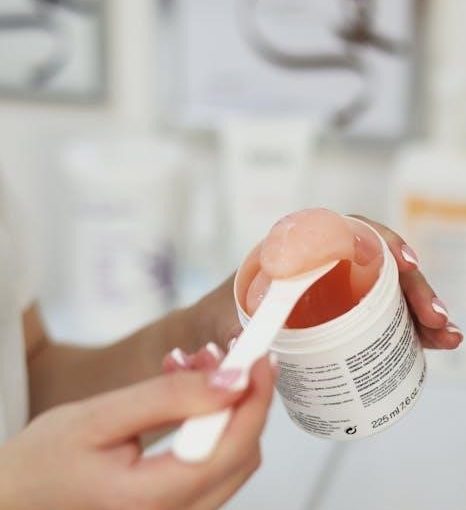
To achieve professional-looking gel nails, you’ll need specific tools and products. These include a base coat, gel polish, top coat, UV/LED lamp, nail cleanser, lint-free wipes, nail files, buffers, cuticle pusher, orange stick, acetone, cotton pads, and gel remover. Optional items like nail art brushes or a manicure stick can enhance your application. Gather all supplies before starting to ensure a smooth process.
Preparation Steps Before Applying Gel Nails
Before applying gel nails, ensure your nails are clean and dry. Remove old nail polish and push back cuticles. Lightly buff the nail surface to create a rough texture for better adhesion. Wipe nails with acetone or nail cleanser to remove oils and residue. This step is crucial for a long-lasting gel manicure, as any moisture or debris can prevent proper adhesion of the gel.
Nail Preparation for Gel Nails
Proper nail preparation is key for successful gel application. Shape your nails using clippers or a file to achieve your desired form. Lightly buff the surface to smooth ridges and remove shine, ensuring better adhesion for the gel polish.
Shaping and Filing Your Nails
Shaping and filing are essential for achieving a polished look. Use nail clippers to trim nails to your desired length. Then, file in one direction with a fine-grit file to smooth edges and shape the nail. Avoid filing back and forth to prevent weakening the nail. Ensure the edges are seamless to prevent chipping during gel application. This step sets the foundation for a professional finish.
Removing Old Gel Nail Polish
Removing old gel polish is crucial for a fresh application; Soak cotton pads in acetone and place them on each nail, securing with foil. Let sit for 15 minutes to loosen the gel. Gently scrape off the polish with a cuticle pusher or wooden stick. Avoid harsh scraping to prevent nail damage. Finish by buffing the nail surface to remove residue and prepare for new polish application.
Cuticle Care and Pushing Back Cuticles
Proper cuticle care ensures a clean canvas for gel application. Apply cuticle oil or remover to soften the skin. Gently push back cuticles using a cuticle pusher or orange stick, being cautious not to cause bleeding. Avoid over-pushing, as this can lead to irritation. After pushing, wipe away dead skin and hydrate with cuticle oil to maintain nail health and promote a smooth gel finish.
Buffing the Nail Surface
Buffing the nail surface is essential for gel adhesion. Use a nail buffer or file to gently roughen the nail, focusing on the center. This creates a textured surface for the gel to grip, preventing peeling. Avoid over-buffing, which can weaken nails. After buffing, wipe the nail with an alcohol wipe to remove dust and oils, ensuring a clean, dry surface for the base coat.
Applying the Base Coat
Apply a thin base coat evenly, starting at the center and avoiding cuticles to prevent lifting. Cure under the UV lamp for 30 seconds.
Choosing the Right Base Coat
Selecting the right base coat is crucial for a long-lasting gel manicure. Opt for a clear or nourishing base coat to protect your nails and promote adhesion. If you have weak or damaged nails, consider a strengthening base coat. Ensure the formula is specifically designed for gel polish to avoid peeling or lifting. Always check reviews or product descriptions to confirm compatibility with your gel polish brand.
Correctly Applying the Base Coat
Apply a thin, even layer of base coat to each nail, starting at the center and gently sweeping the brush from cuticle to tip. Avoid pooling at the edges or cuticles. Cure under the UV/LED lamp for the recommended time, usually 30 seconds to a minute. This step ensures proper adhesion and a smooth finish for your gel polish. Patience here is key for a professional-looking result.
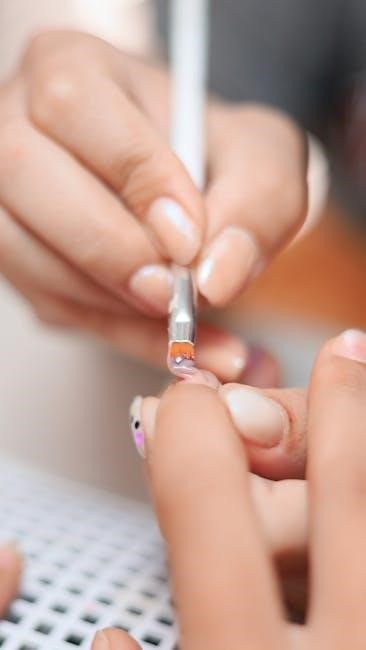
Gel Nail Polish Application
Applying gel polish involves thin, even coats cured under UV/LED light for durability. Start with a base coat, then apply color, finishing with a top coat for a professional finish.
Selecting the Right Gel Polish Color
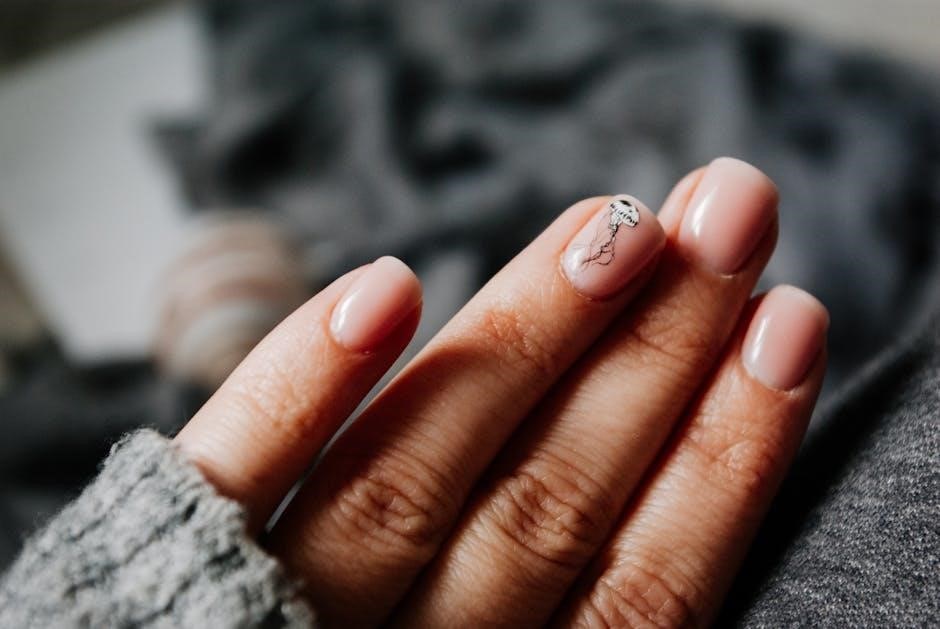
Choosing the right gel polish color enhances your manicure’s appeal; Consider your skin tone, personal style, and occasion. Neutral shades like nude or pink complement most looks, while bold colors make a statement. Pastel hues are trendy for spring, while deeper tones suit autumn. Metallic or glitter finishes add extra flair. Match your outfit or experiment with contrasting shades for a unique touch. Your color choice sets the tone for your final look.
Applying Thin Coats for Better Results
Thin coats of gel polish ensure even curing and a smooth finish. Start by dipping the brush in the bottle, wiping excess on the rim. Paint a thin layer, beginning at the center and dragging the brush toward the cuticles without touching them. Avoid thick layers, as they may not cure properly. Repeat for desired opacity, cleanup smudges with acetone, and cure each coat under the UV/LED lamp for optimal results.
Curing the Gel Polish Under UV/LED Light
Curing gel polish under UV/LED light is essential for setting the layers. Place your hand under the lamp, ensuring all nails are exposed. Cure each coat as per the manufacturer’s instructions, typically 30-60 seconds. Multiple thin coats cured properly result in a long-lasting, chip-resistant finish. Avoid overexposure to prevent lifting or cracking. Always follow the recommended curing time for the best adhesion and durability of your gel nails.
Finishing with a Top Coat
A top coat seals the gel polish, adds shine, and protects the color. Apply a thin layer evenly, avoiding cuticles. Cure under UV/LED light for durability.
Importance of a Top Coat
A top coat is essential for sealing gel polish, preventing chipping, and adding a glossy finish. It protects the color, enhances durability, and ensures a professional-looking manicure. Properly applied, it extends wear and maintains shine, making it a crucial final step in gel nail application.
Applying the Top Coat Correctly
Apply a thin, even layer of top coat, starting at the center and sweeping toward the tip. Avoid pooling at the cuticles or edges. Cure under UV/LED light as instructed. Ensure full coverage for a glossy finish. Avoid smudging by letting it cure completely. This step seals the color and adds protection, ensuring long-lasting wear and a professional finish.
Cleanup and Aftercare
Use acetone and a lint-free wipe to remove excess gel polish. Cleanse nails with alcohol to eliminate residue. Apply cuticle oil to hydrate and nourish. Gently file edges for smoothness, ensuring long-lasting results and healthy nail care.
Cleaning Up Excess Gel Polish
After applying each coat, use a cotton ball dipped in acetone to carefully wipe away excess gel polish from cuticles and skin. Gently sweep around the nail without touching the polished area to avoid smudging; This step ensures a neat finish and prevents polish from peeling. Regular cleanup maintains a professional look and extends the wear of your gel nails.
Hydrating Your Nails and Cuticles
After finishing your gel manicure, apply a nourishing cuticle oil to hydrate your nails and cuticles. Gently massage the oil into the skin around your nails to promote healthy growth and prevent dryness. This step is crucial for maintaining nail health and ensuring the gel polish adheres properly without causing damage. Regular hydration keeps your nails strong and your hands looking polished and cared-for.
Removing Gel Nails Safely
Gel nail removal requires care to prevent damage. Use acetone-soaked cotton pads wrapped in foil to gently break down the gel. Avoid scraping or peeling, as this can harm your nails. After removal, buff and hydrate your nails to restore their health and prepare for future applications. Safe removal preserves nail integrity and promotes long-term nail health.
Using Acetone for Gel Removal
Acetone is essential for dissolving and removing gel polish. Soak cotton pads in acetone, place them on your nails, and wrap with foil. Let it sit for 15 minutes to break down the gel. Gently scrape off the loosened gel with a cuticle pusher. Avoid harsh scraping to prevent nail damage. After removal, clean the nail surface with alcohol and hydrate with cuticle oil to restore moisture and health to your nails and cuticles.
Buffing and Shaping After Removal
After removing gel polish, buff your nails to smooth ridges and restore natural texture. Use a nail file to shape your nails, ensuring even edges and desired shape. Buffing removes residual gel and preps nails for future applications. Be gentle to avoid weakening the nail. Finish by wiping with alcohol to remove dust and oils, ensuring a clean surface for any new polish or treatments. This step is crucial for maintaining healthy, polished nails.
Additional Tips for Long-Lasting Gel Nails
Avoid harsh chemicals, keep nails moisturized, and handle with care. Thin coats and proper curing ensure durability. Regular maintenance prevents chipping and extends wear.
Avoiding Common Mistakes
- Apply thin coats to prevent uneven curing and peeling.
- Ensure proper curing times to avoid tacky finishes.
- Avoid base coat application too close to cuticles to prevent lifting.
- Don’t skip moisturizing nails and cuticles to maintain health and adhesion.
Maintaining Nail Health
To keep your nails healthy, always use a base coat and avoid excessive filing. Moisturize cuticles regularly and take breaks between gel applications. Use acetone-free removers to prevent drying out your nails. A balanced diet rich in vitamins and minerals also supports nail strength and growth, ensuring your nails stay healthy and look their best.
Mastery of gel nails requires patience and practice. By following each step meticulously, you can achieve professional results at home. Remember to prioritize nail health, use quality products, and maintain proper aftercare. With these tips, you’ll enjoy long-lasting, stunning gel nails while keeping your natural nails strong and healthy. Happy pampering!